GL.iNet Router Setup
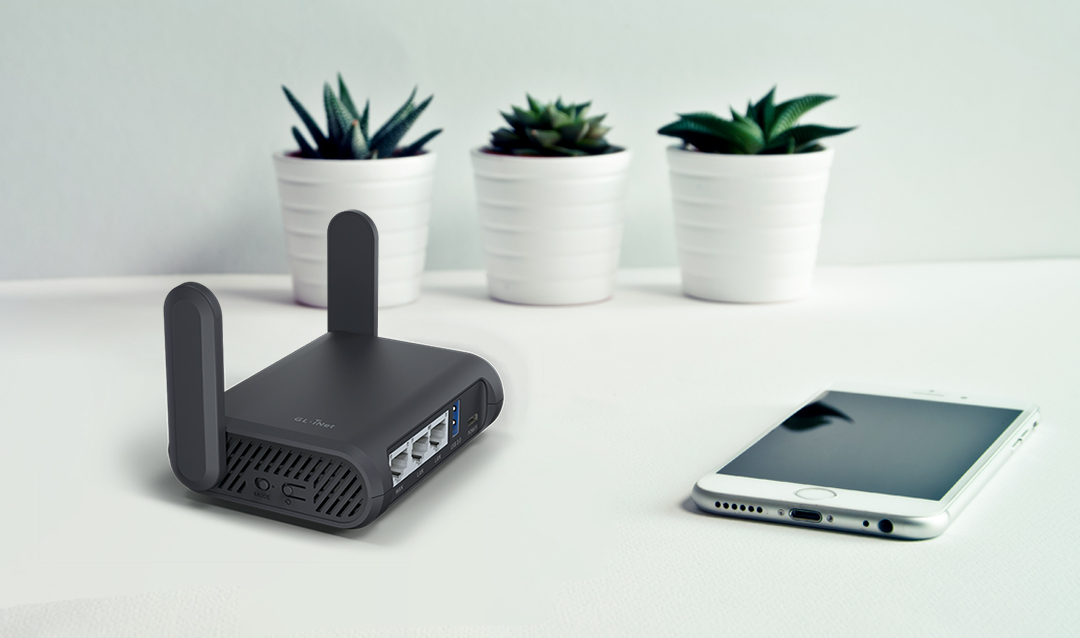
The GL.iNet router is a renowned brand of routers. These routers are known for their extraordinary designs and features. The GL.iNet router is designed for personal use, traveling, and commercial applications. You can make use of several features this router offers to ensure better functionality. To start using this router, you must execute the GL.iNet router setup. A proper setup will optimize it to provide the best performance. Thus, you can set it up properly from the web interface.
Almost every networking device has a web interface, through which you can configure the settings. Thus, you must know the complete procedure for the GL.iNet setup. Today, we have brought you the ultimate post to assist users through the GL-iNet router setup. This blog will consist of the complete setup. Sometimes, during the setup, you can also face issues with the setup. So, we’ll also discuss the troubleshooting methods for the setup issues.
Items You Require for the GL iNet Router Setup
To proceed with the GL.iNet mini smart router setup, you require some things. These are as follows:
- The default IP address
- An Ethernet cable
- The GL.iNet app
- Your PC or smartphone
- An active Internet connection
- The login credentials
These are the requirements for the GL.iNet travel router setup. Now we will discuss the procedure for the setup.
Steps for the GL.iNet Router Setup
You must also know that there are two ways to set up the GL.iNet router. The first method is through the web browser or via the WPS button. You can easily set it up using these ways. Follow the below mentioned steps to set up the router.
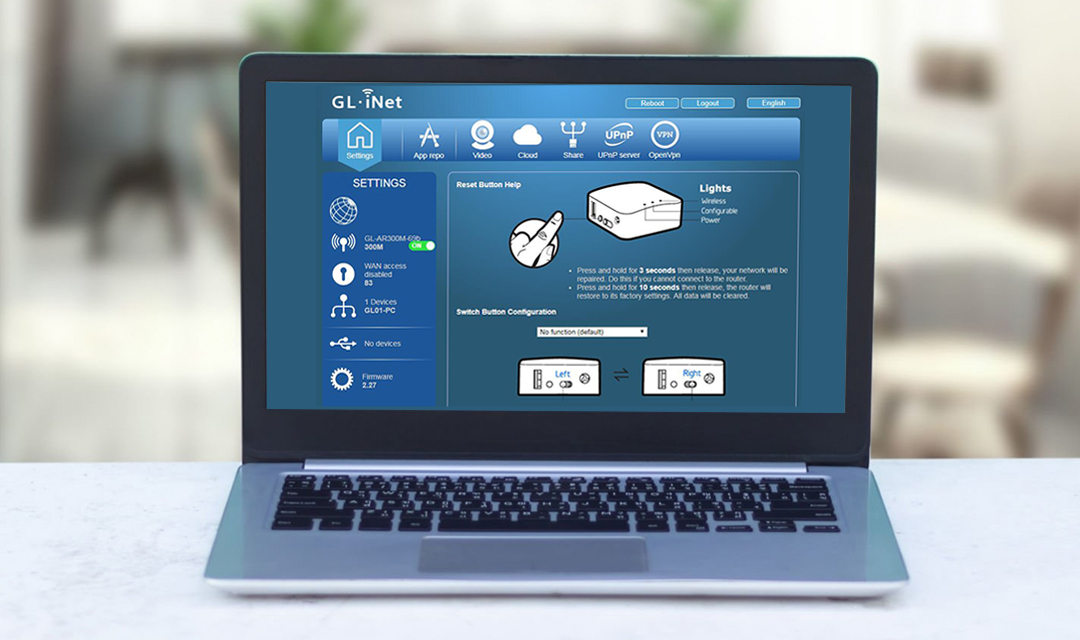
GL iNet Router Setup Via the Web Browser
- Firstly, you must form a connection between the router and the PC.
- Utilizing an Ethernet cable, you can link the PC to the router.
- From that device, choose a web browser of your choice and open it.
- Now, with the help of the IP address, you can access the GL.iNet router login page.
- On the login page, you can log in using the default username and password.
- After that, the user interface of the router will appear on the router.
- Finally, you can set up the router by following the on-screen instructions.
GL.iNet Setup Through the App
- To begin with, download the GL.iNet app on your mobile phone.
- You can find GL.iNet app on both Play Store and App Store.
- Now, from the app, you can create your account.
- Hereon, add the router to the GL.iNet app.
- Afterward, you can proceed with the setup with the help of the app.
- At last, ensure to customize the router correctly.
This is how you can correctly proceed with the GL-iNet router setup. Now, you can start using your router and enjoy standardized internet quality.
Why Can’t I Log Into the GL.iNet Router?
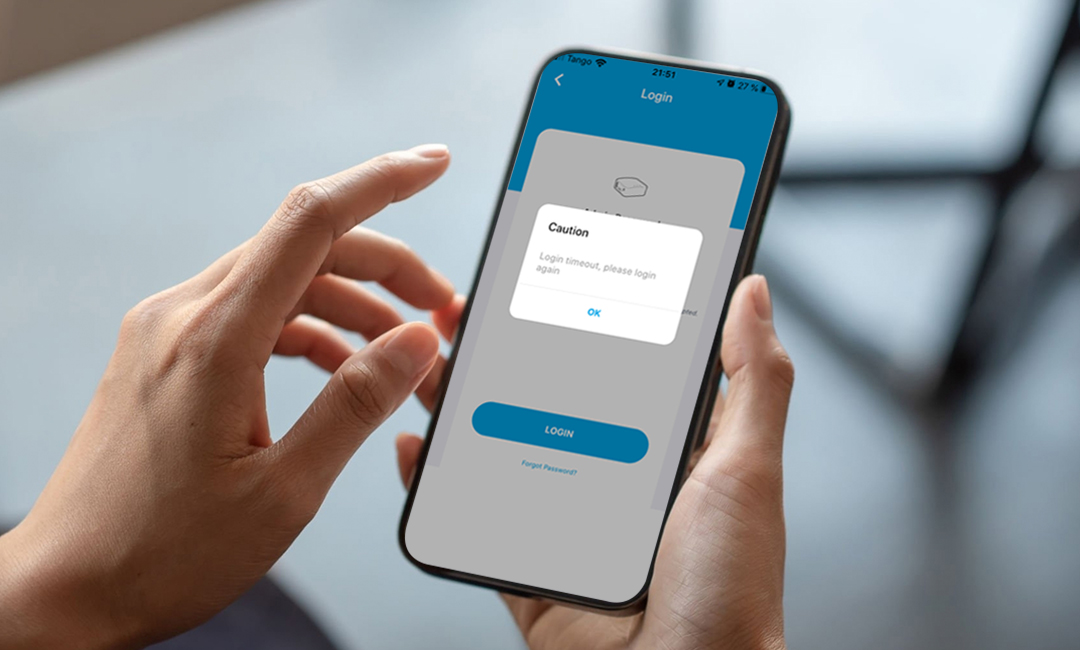
If you are having trouble logging into the router, you must fix it. You can’t set up the router without logging into the router. To fix the GL.iNet Mini Smart Router Setup issues, you can follow the below methods:
- No internet connection
- Web browser cache
- Firewall enabled
- App issues
These are some common reasons for the GL.iNet travel router setup not working. Now, we’ll discuss the methods you can use to fix the issues with the setup.
Troubleshooting the GL.iNet Router Setup Issues
By figuring out the issue for the login issues, you can troubleshoot them effectively. You must fix the login issues to proceed with the GL iNet router setup issues. To fix the login problems, you can try the following methods to resolve the login issues:
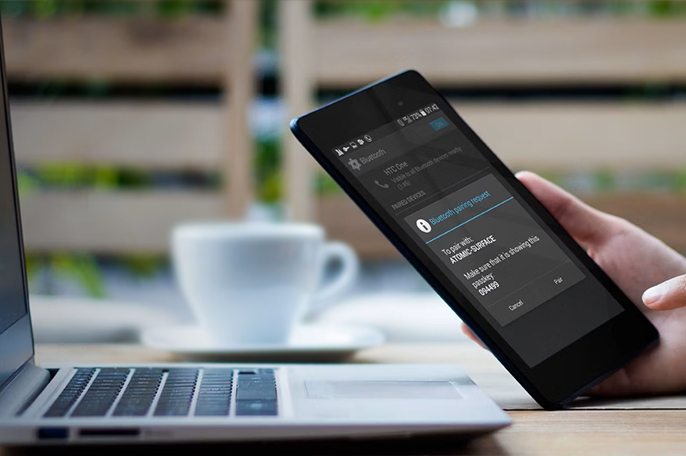
Establish a Connection
To log into the router’s user interface, you must form a connection between the router and your device. It’s imperative to connect your device to the router’s connection. Otherwise, you cannot log into the router’s user interface. You can connect your smartphone to the router from the WiFi settings. Whereas, you require an Ethernet cable to connect your PC to the router. Now, try again with the GL.iNet setup.
Update the App
If the app doesn’t work correctly, check if the app requires an update. An outdated app will cause issues with the GL-iNet router setup. Thus, you must update the app and then try again with the login. If the issue persists, you can try uninstalling the app for some time. After a few minutes, you can install the app again. Now, the setup issues should be gone.
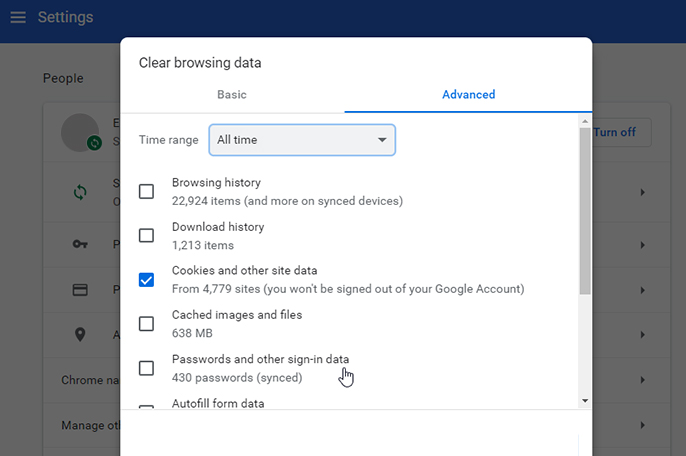
Fix the Web Browser Issues
There could be issues with the web browser preventing you from logging into the router. You can try erasing the browser cache and cookies. Also, disable any firewall or ad-blocker from the web browser, as it can cause issues. Ensure to update the web browser before you log in. If the issue persists, you can use another browser for the login. Now you can try again with the GL.iNet mini smart router setup.
These are some methods you can use to fix the GL.iNet travel router setup. Now you should be able to proceed with the GL.iNet router setup successfully. If you have any other trouble with your GL.iNet router, you can connect with our team right now.
Frequently Asked Questions
To access the web interface of the router, you require the IP address and default login credentials. Through the IP address, you can access the login page. After that, you can log into the user interface using the default login credentials.
You can set up the GL.iNet mini smart router via the app. All you need to do is install the app from either Play Store or App Store. After that, you can create your account from the app. Now, add the device to the app and set it up following the instructions given by the app.
To setup NordVPN on the GL.inet router, follow the steps below:
- Primarily, download the OpenVPN files from the NordVPN server. Select the configuration files you require and download them.
- Now, log into the user interface of the router using your IP address and login credentials. From the user interface, go to the VPN
- Hereon, go to OpenVPN Client and then click the Add a New OpenVPN Configuration
- You need to upload the files you downloaded from the server. A new window will display, where you have to enter the VPN credentials.
- After that, submit the login credentials and then click the Connect option to enable the OpenVPN connection.
- At last, the NordVPN is successfully set up and you can start using it accordingly.
These are the steps to enable NordVPN on your GL.inet router.